When working on multiple different versions of Business Central, you may have got in the habit of managing AL Language extensions by installing and uninstalling / disabling different versions of the AL language extension as you move between projects.
Microsoft have made this management easier in recent versions of the AL language extension found on the Visual Studio Code marketplace place by providing multi-version support. This allows the developer to select the target platform version when creating a project workspace:
But, what if you want to develop for a specific on-premise build of Business Central / Dynamics NAV 2018 or a currently unsupported version such as an insider build from the Collaborate programme? You’ll still need to import the VSIX file that ships with this version.
Managing AL Language extensions
Visual Studio Code provides functionality to enable / disable extensions on a per workspace basis.
So to use this in practise lets say you want your default AL language extension in Visual studio code to be the version that comes from the Visual Studio Code Marketplace. If we leave this version alone after install, it will be enabled globally (i.e. available for all projects):
Now lets create a new project where we want to use a specific AL language extension shipped with the Business Central version we’re developing for.
There are a few steps we’ll need to complete as follows:
- Obtain the VSIX file for the target AL language extension (found on the product DVD, or output in the terminal if using containers).
- Create a new workspace in Visual Studio Code by opening a folder.
- Import the VSIX file.
- Disable the new AL language extension. Then select Enable (Workspace)
- Identify the global AL Language extension and select Disable (Workspace)
Obtain target VSIX file
VSIX is the file format for Visual Studio Code extension packages. Each version of Business Central on-premise (and Dynamics NAV 2018) ships with a VSIX file in the product DVD.
In the Business Central 2019 Wave 2 “DVD” the VSIX package is in the following location (assuming you’ve unzipped to C:\Temp):
C:\Temp\Dynamics 365 Business Central 2019 Release Wave 2.GB.36649\ModernDev\program files\Microsoft Dynamics NAV\150\AL Development Environment\ALLanguage.vsix
When using NAV/BC Docker containers a link to download the VSIX package is printed to the console when creating the container. If you’ve closed your console since creating the container you can use the docker logs command to display this information for any given container:
PS C:\WINDOWS\system32> docker logs ALDEMO
Initializing...
Starting Container
Hostname is ALDEMO
PublicDnsName is ALDEMO
Using NavUserPassword Authentication
Starting Local SQL Server
Starting Internet Information Server
Creating Self Signed Certificate
Self Signed Certificate Thumbprint B4342A2900B851600763A08FD1C8B03CC8B28622
Modifying Service Tier Config File with Instance Specific Settings
Starting Service Tier
Registering event sources
Creating DotNetCore Web Server Instance
Enabling Financials User Experience
Creating http download site
Setting SA Password and enabling SA
Creating dank as SQL User and add to sysadmin
Creating SUPER user
WARNING: The password that you entered does not meet the minimum requirements.
It should be at least 8 characters long and contain at least one uppercase
letter, one lowercase letter, and one number.
Container IP Address: 172.30.134.252
Container Hostname : ALDEMO
Container Dns Name : ALDEMO
Web Client : http://ALDEMO/BC/
Dev. Server : http://ALDEMO
Dev. ServerInstance : BC

Files:
http://ALDEMO:8080/al-4.0.192371.vsix
Just copy the VSIX file URL into your browser to download.
Create a new workspace in Visual Studio Code
So you could change the target AL Language extension on an existing project, but you may need to change some of the parameters in the launch.json and/or app.json files that get generated by the AL language extension due to differences between versions.
To keep things simple I’m going to create a new project to use by creating a new folder and opening that in VS Code. Once I’ve activated the AL Language version I require, I’ll use that to generate the app.json and launch.json files.
- Hit F1 to open the command palette.
- Search for and execute Open Folder.
- In Open Folder Dialog create new folder and open.
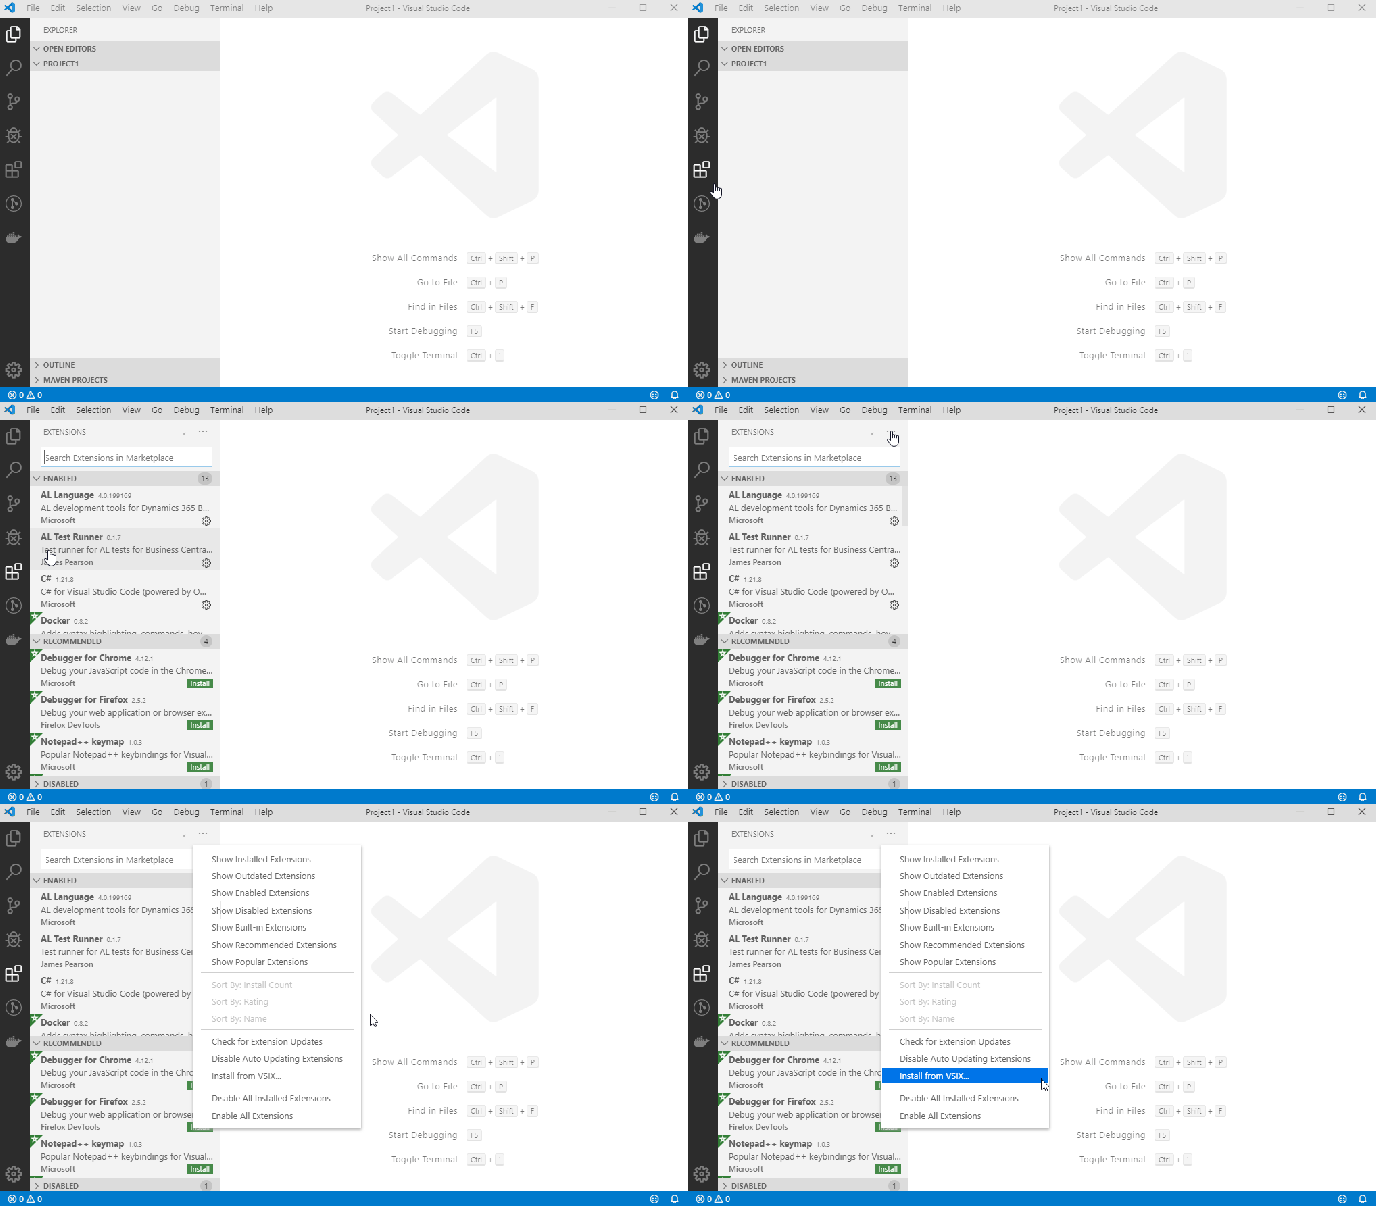
Import the VSIX file into Visual Studio Code
The AL language VSIX file can now be imported into Visual Studio Code:
Enable new AL Language extension version for current workspace only
With our new extension installed, we’ll first need identify it based on the version number, disable it, and then enable it for the current workspace only:
Disable the global AL Language extension for the current workspace
Next we need to disable our default AL Language extension for the currently opened workspace.
Now we can complete the project setup by creating a new .al file in the workspace which will prompt us to generate a manifest file (app.json). The launch.json file will get created automatically if one doesn’t already exist in the workspace when you try to download symbols.


